Menu
Log in
Log in

ep_1_sm

This Kerry is in need of another ear pasting. Notice how one ear is held lower than the other.

ep_2_sm

After the ears are cleaned, take a cotton ball and coat the ear and the top of the skull, (all surfaces that will come in contact with glue), with tincture of benzoin. Let the benzoin dry thoroughly.

ep_3_sm

Place the glue in the number “7″ pattern, making sure the glue stays out of the ear canal, but does run along the desired fold line.

ep_4_sm

Fold the ear along the glue line, which should form a crease at the correct level for the size of the ear.

ep_5_sm

Press the ear leather together on the glue line, and hold it a few seconds until the glue sets.

ep_6_sm

You can see the fold line in this picture.

ep_7_sm

Place glue on the remaining inside tip of the ear and press the ear tip to the skull. The size of the ear will dictate how high on the skull the ear should be placed and the position of the fold.

ep_7a_sm

You may want to glue the fold, near the crease line, (see index finger in the picture) back to the skull. Use a very thin line of glue here, because it will make it more difficult to remove later. Press fold line back to the skull and hold until glue sets.

ep_8_sm

When you have complete both ears, they should look something like this.


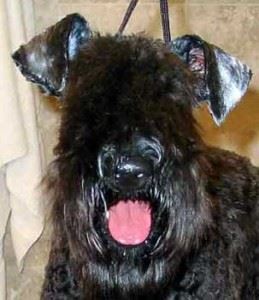
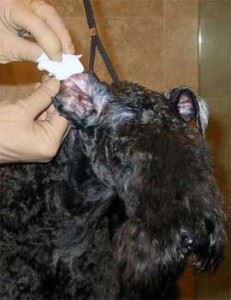
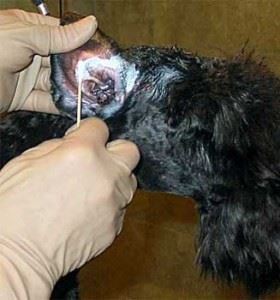
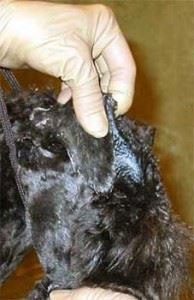
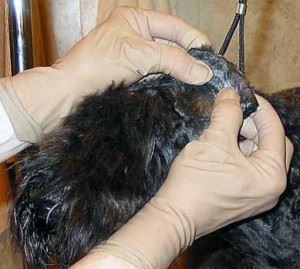
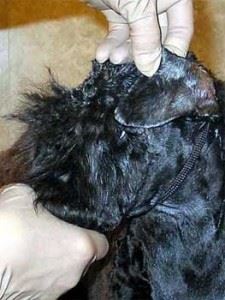
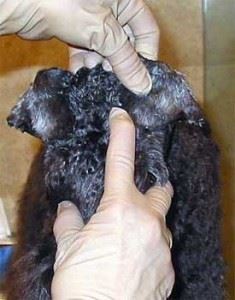
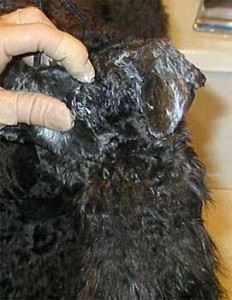
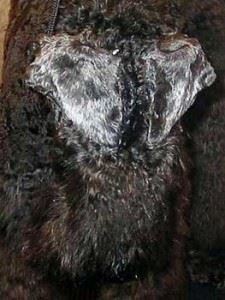
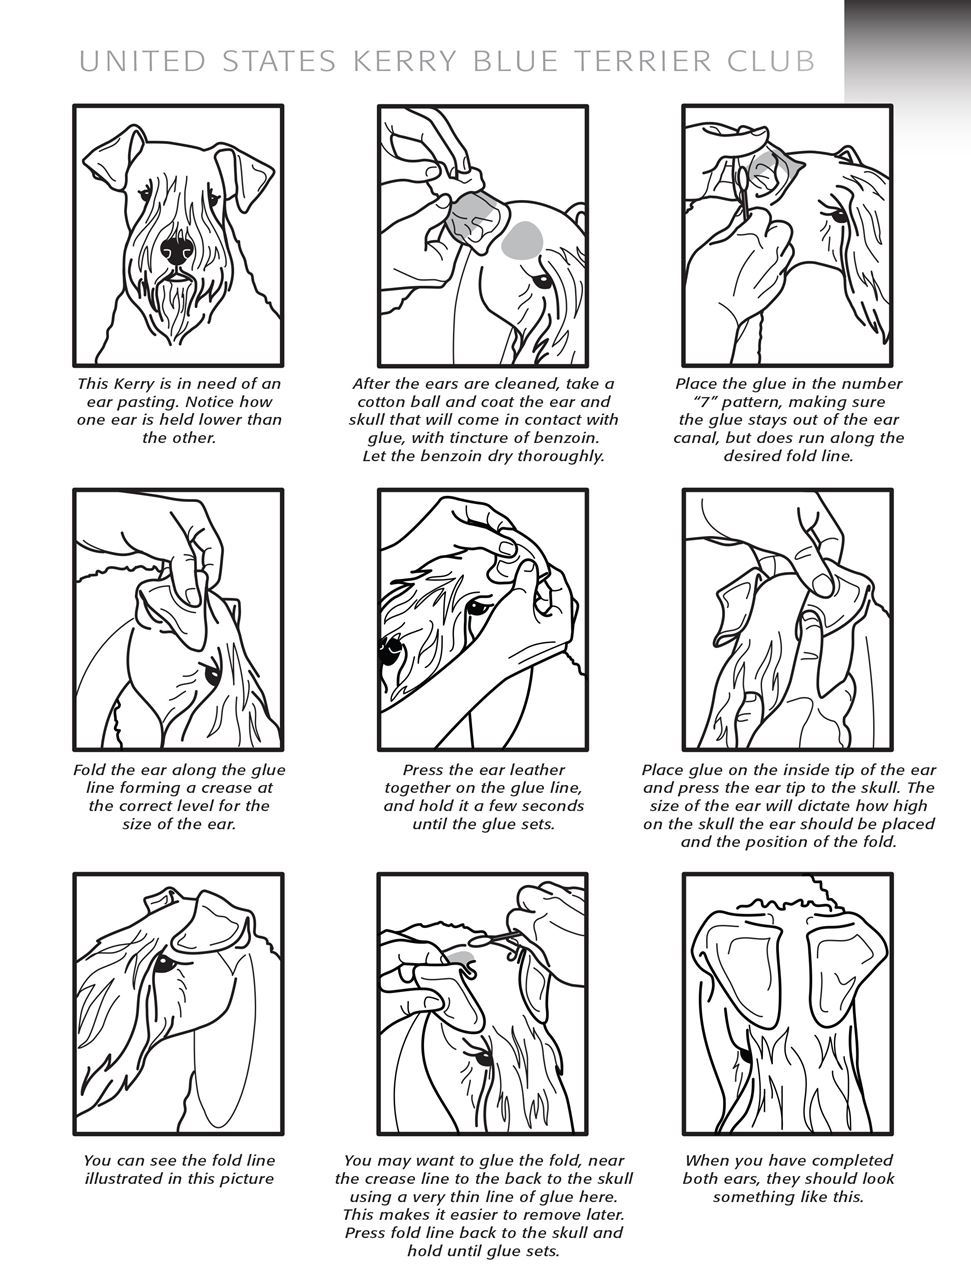
This is another graphic on how to paste a Kerry ears.  Another adhesive that works very well, drys quick, and contains no solvent is hair extension adhesive which can be bought at a beauty supply store.


Shop USKBTC

Online purchases of Kerry related items like cards, pictures and books are made easy in our shop.

Shop Now

Show your Support

Support your favorite Kerry cause with a contribution to Rescue, Health & Genetics and Education.

Make a Donation

Powered by Wild Apricot Membership Software